
According to the facts, the average American population eats so much cereal that you can build a line of cereal boxes all the way to the moon and back! What this means is that the average American household is probably flooding with cereal boxes, and it’s a great idea to use all those boxes in some arts and crafts. So the next time your child wants a new toy or needs some activity that can keep him engrossed for over an hour, try making castles out of cereal boxes.
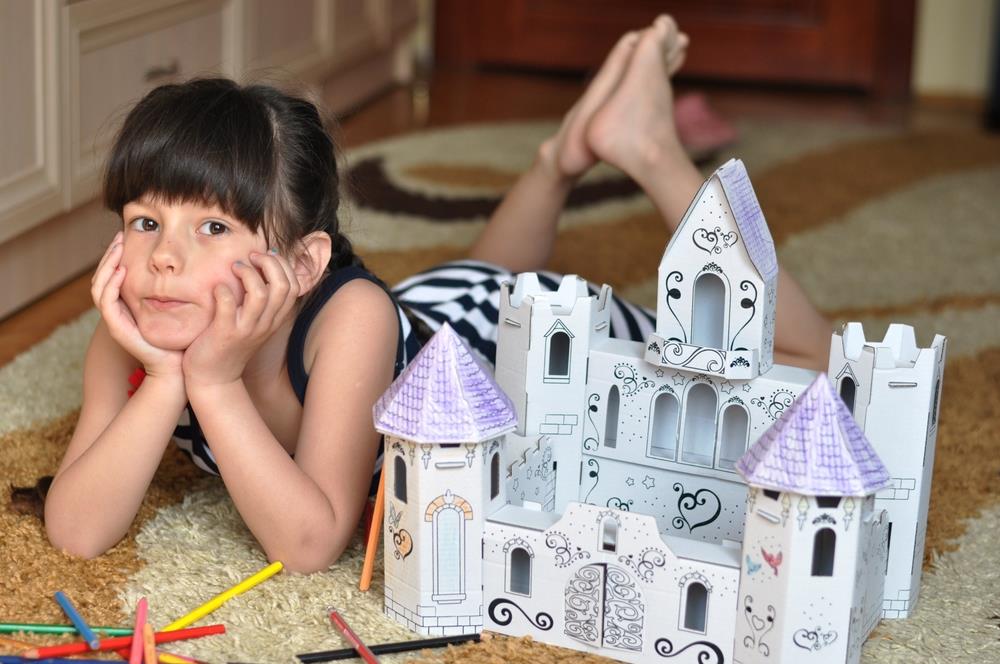
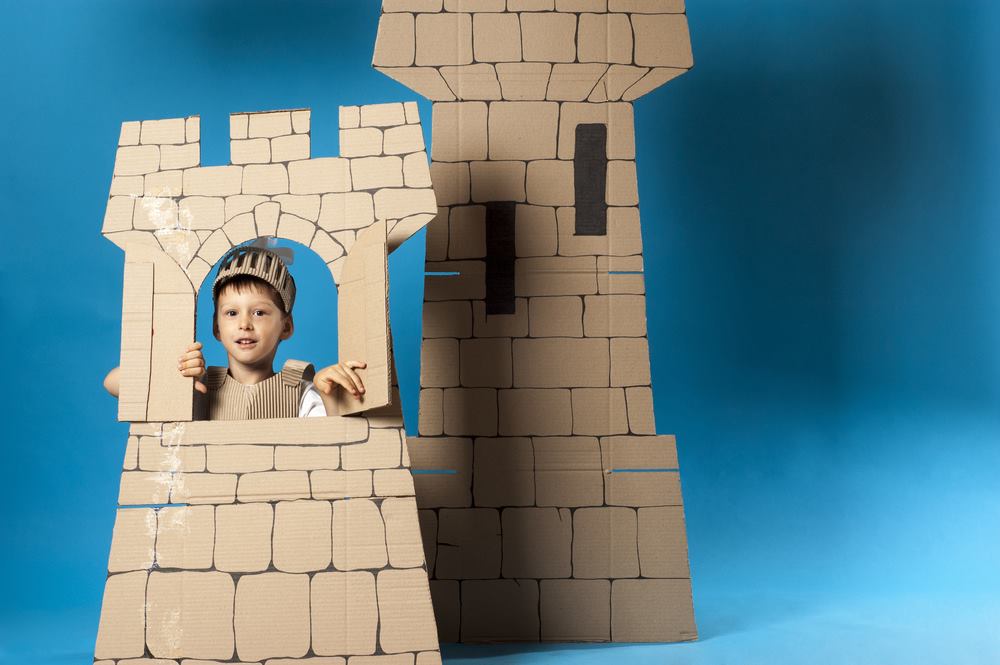
Yes! That’s right…these little boxes can be recycled or upcycled into anything imaginable, even little play castles! Whether you want to build a little medieval castle for a class project, for role playing or for anything else, it’s a great way to spend some quality time together. So get your crafts kit out and get started. Here is what you will need when you start up on this cool art project!
Things You Will Need:
Before you get started, collect all of the material in one place so you have everything at hand. While the material list will grow according to how fancy or elaborate your castle is, here is a list of things you will need for a basic medieval castle:
- 2-3 cereal boxes [depending on the width of the castle that you want]
- Tissue rolls or cardboard rolls
- Hot Glue
- Tape
- Scissors
- Markers
- A4 paper
Step By Step:
Step 1: First of all, browse through the internet to select the kind of castle you are going to make. Will it be a rectangular castle? A basic box castle? A castle complex or something else? Once you have selected the style, choose the number of cereal boxes according. In this article, we are going to make a basic box castle.
Step 2: Flip 2 cereal boxes 90 degrees, and lay them down on their narrow sides. Glue them together so it makes a sturdy, rectangular form.
Step 3: Get some a4 papers and cover the outside of these cereal boxes. Now take a marker and draw a door, and stone on this cereal box. Alternatively, you can use some other decorating technique such as collage or painting.
Step 4: Take 4 toilet paper roll inner tubes and wrap them in white a4 papers. These tubes will be used as castle columns.
Step 5: Get your hot glue gun and glue the edge of the toilet paper rolls onto the sides of the walls of the castle. Draw a stone pattern on these columns/pillars once they have been joined to the edges.
Step 6: Now its time to cut the ramparts! Cut the ramparts from the top of all four walls of the castle, as well as the top of the pillars. Alternatively, you may even cut the ramparts before gluing the pillars to the main body. Whatever you are comfortable with, will work! It is better to draw the ramparts on the cereal box beforehand so the cutting can be done very precisely.
Step 6: Cut the door and using some hot glue and strings, attach the door with the strings.
Step 7: You can also make an additional moat with the help of more cereal boxes. Use the inside of the cereal boxes and draw/paint on it to make a meat base. You can also select nice water designs from the printed cardboard boxes by The Custom Boxes. These custom designs will have a lot of graphics you can put to use!

This is an all time favorite project that is going to keep you and your kid busy for hours! Thanks!
